

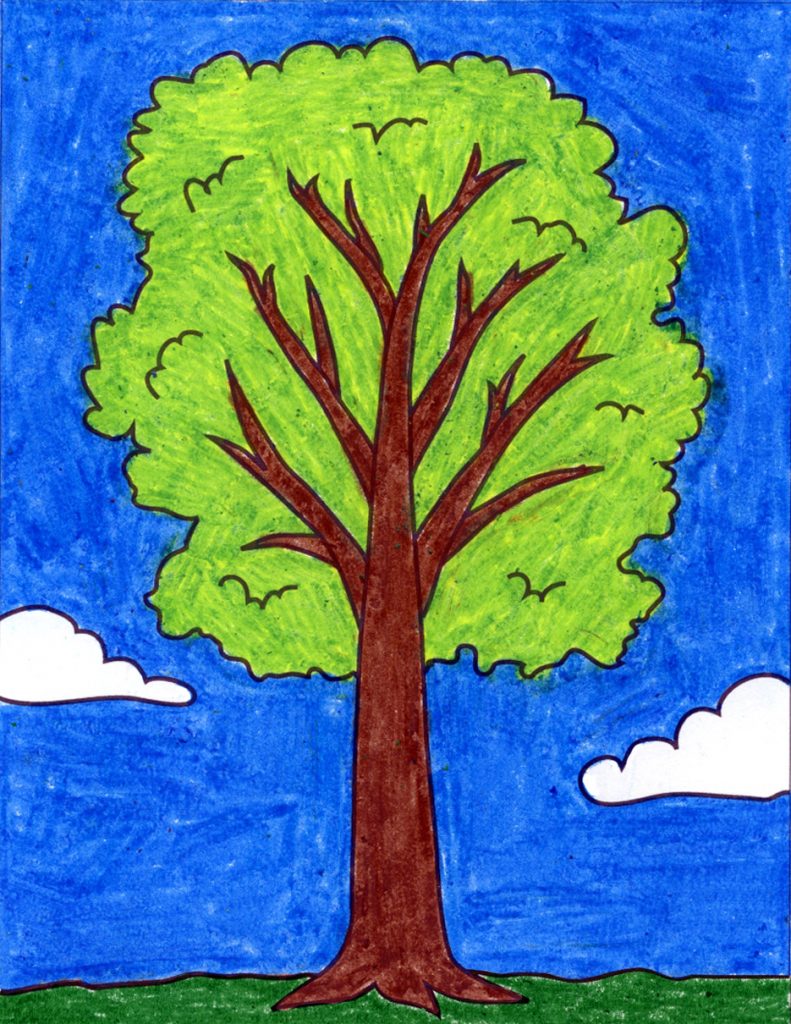
How To Draw Spring Tree
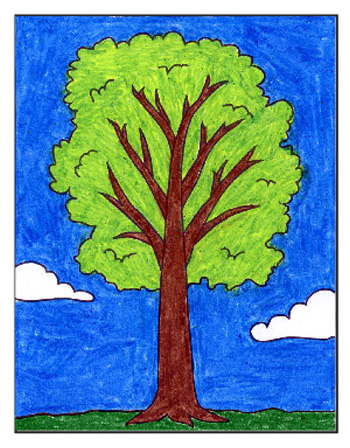
Learning how to draw a tree gets easier when you start with a step by step tutorial. This one lets students see how all the branches connect to each other.
Drawing from real life is always going to offer some of the best learning experiences, especially for those interested in an art career. But when it comes to drawing trees, that's hardly practical or even possible for most students. Even if they could go outside, not everyone has a nice view of a mature tree, standing all by itself somewhere, that they can sit down and draw.
Not to worry though, there are lots of features that trees have in common, so once students learn more about them, they can start to draw more realistic trees rom their imagination.
Most students though, if left to draw a tree they way they are used to, will resort to just drawing the trunk and cap it with something like a cloud shape. Or if the trees are bare, then they draw lots of rectangles that look more like boards instead of branches. (Don't ask me why, sometimes that concept of branches thinning out to a point takes time to notice.)
This tutorial is made to show students the structure of a tree, and how there is a randomness to the branches, but also a kind of formula they follow too. Those that are trying this for the first time could stick more to the example in my diagrams, and those with more experience could mix things up a bit. They could even add little bunches of leaves in front of some of the branches.
Either way, it's bound to help them add more detail to their trees, and that's step one in learning how to become at drawing.
Getting Started with Drawing Guides
The best way to get students off to a good start to any drawing lesson is to show them how to use guides as a reference point.
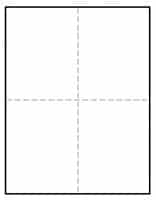
You may have noticed that all of the tutorials on this site have a dashed line running through the center of each step, both in the horizontal and vertical direction. If students make theirown centered lines on theirown paper, before drawing, they will have an easy reference to follow.
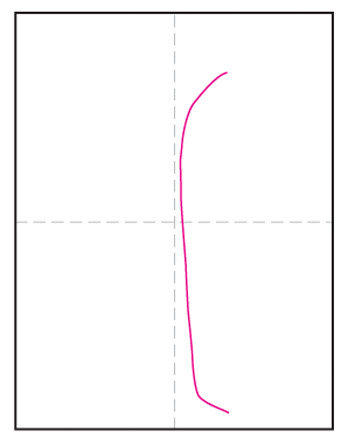
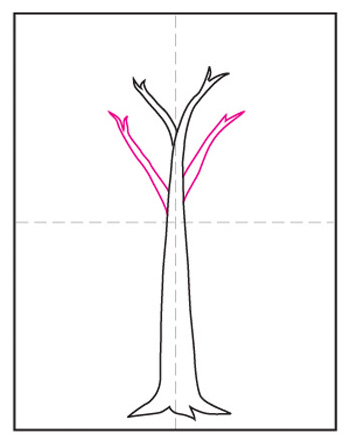
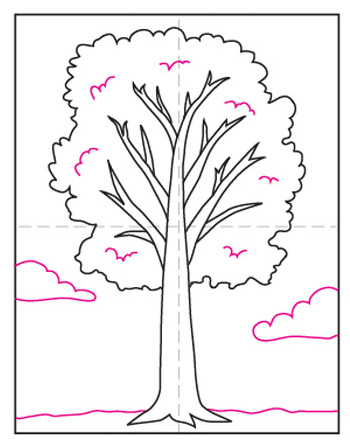
For instance, as seen in Step 1 below, the tree needs to start just to the right of the center vertical line. It's important to sketch that near the middle so the tree ends up centered on the paper. When beginners get their drawing off to a good start, there's a better chance of them feeling successful by the time they are done.
So does that mean students need to get out a ruler to draw a big fat line down the center of their paper before they start? Goodness no, please don't! That will most likely be hard to erase and distract from any finished art. No, simply fold the sheet of paper in half both ways, make a crease, and unfold. The beauty is that by the time the drawing is done and colored in, the creases will disappear.
And now, on to the Tree drawing project.
Use the Button below to Download a PDF Tutorial
New! Coloring Page Gallery
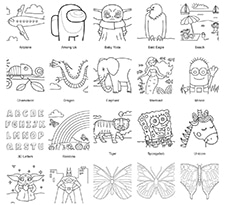
Here's a new option for busy teachers and parents. You can now easily download this drawing as a coloring page with the red button below. Just click to open it as a PDF, and save it to your desktop. You'll have a free coloring page that you can print as often as you want, for whatever kind of project you want. Use it for younger students that want in on the coloring fun, or as a full size visual aid for those that are following the drawing tutorial. For many more fun things to color, please see my COLORING PAGE GALLERY It's never been easier to see and download so many all in one place!
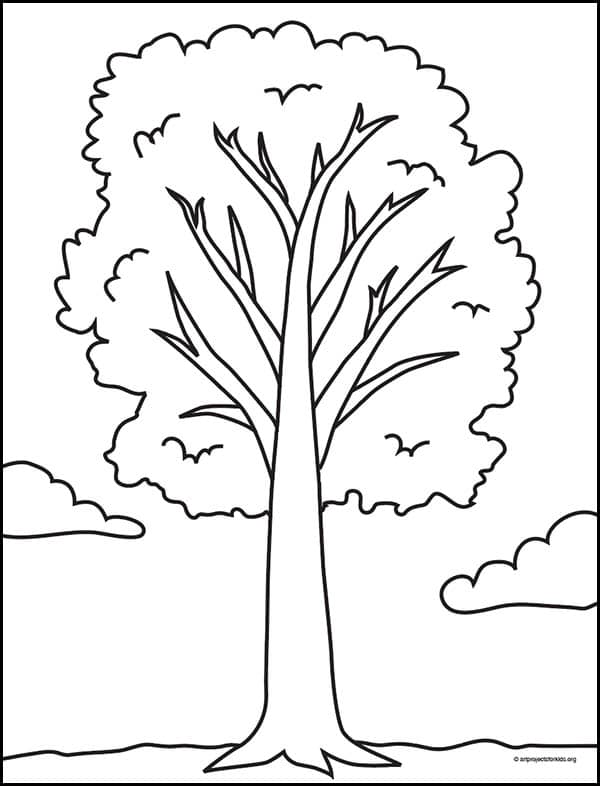
Tree Coloring Page
Time Lapse Drawing of a Tree
Materials for How to Draw a Tree
- Pencil. The Ticonderoga brand are the most reliable, make nice dark lines when you need them, and are the easiest to erase. Buying the pre-sharpened ones will save busy teachers a lot of time.
- Eraser. Large ones you can hold in your hand do a much better job than just the pencil tip erasers, especially when erasing leftover pencil lines after tracing.

- Black Sharpie Marker. These fine point permanent marker pens make nice black outlines, have a good tip for coloring, and never bleed when they get wet. Use them with good ventilation and add extra paper underneath to protect your tables.
- Prang Crayons. These are a bit softer than other crayons so they sometimes look like oil pastels. They also have a some nice brown shades that Crayola does not have unless you buy their larger boxes.
- Crayola Crayons. The reliable brand that always works well. The 24 pack has some of my favorite golden orange and yellow colors that seem a bit richer and warmer than the ones Prang has.
Directions for How to Draw a Step by Step
Time needed:30 minutes.
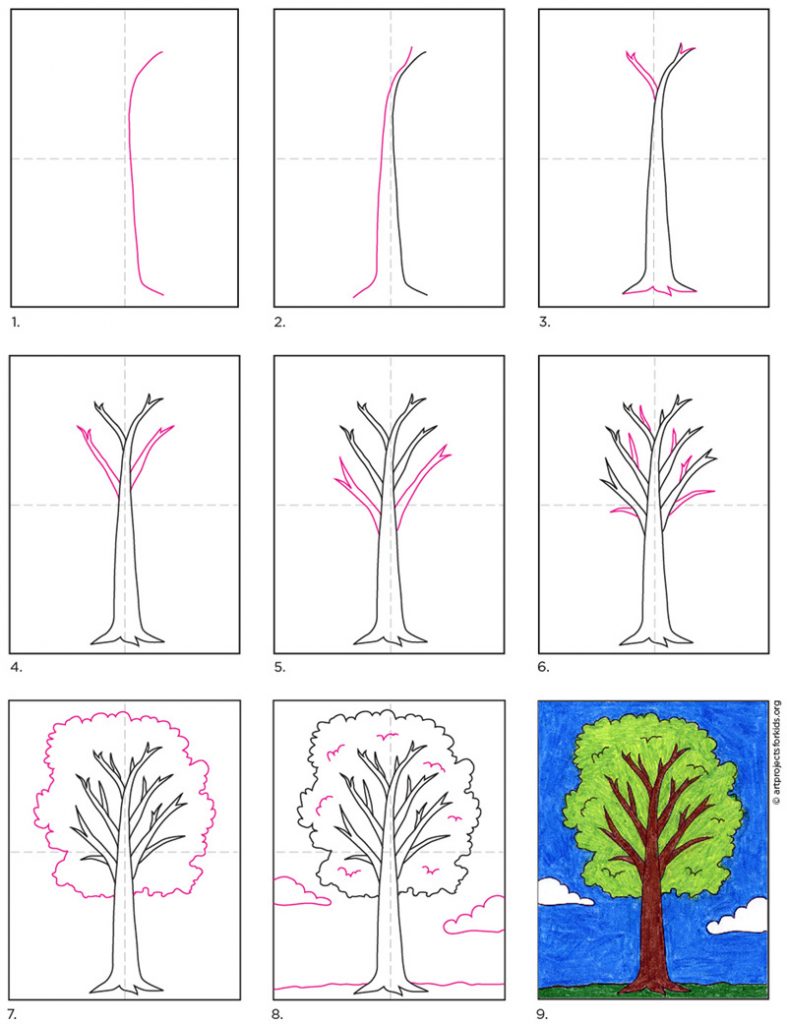
How to Draw a Tree
- Draw one side of the tree.
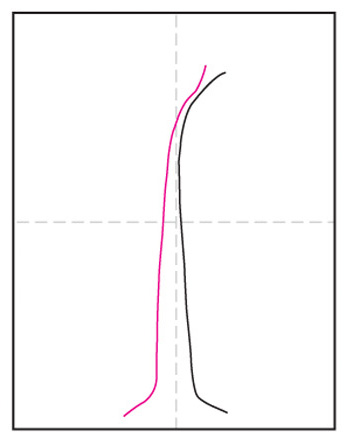
- Add the other side.
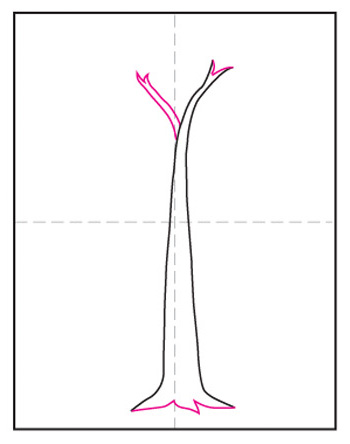
- Turn the branches into a Y shape.
- Draw two larger branches below.
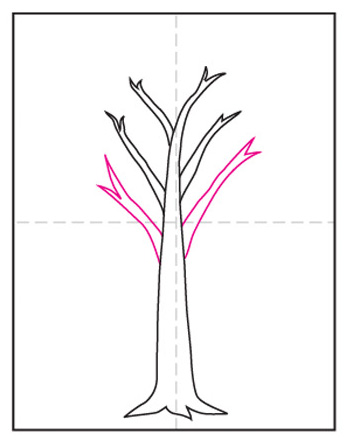
- Draw two larger branches still below.
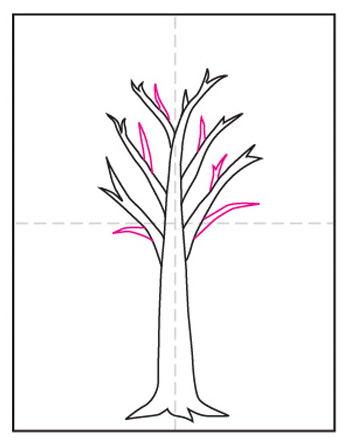
- Add random shorter branches.
- Draw a bumpy tree line all around the branches.
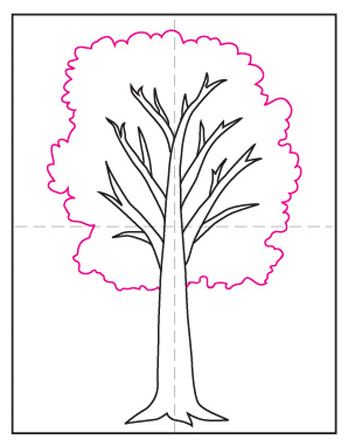
- Add the leaf details, a ground line and clouds.
- Trace the drawing with a marker and color.
More Tree Drawing Projects

How To Draw Spring Tree
Source: https://artprojectsforkids.org/how-to-draw-a-tree/
Posted by: mitchelljohicad1985.blogspot.com
0 Response to "How To Draw Spring Tree"
Post a Comment